Introduction
This technique is very useful to modify the posture of a model, but this feature is also use with the animation features of Zbrush.
Step By Step
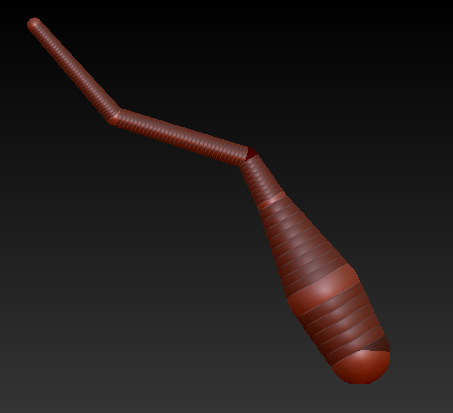
1. Create a Zsphere model

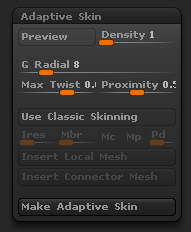
2. Select the appropriate density in the adaptive skin panel.
3. Click on Make Adaptive Skin

The ztool is automatically switch to the skin_model. But on the Ztools panel come back on the Zphere model, (just cllick on the right icone for that).
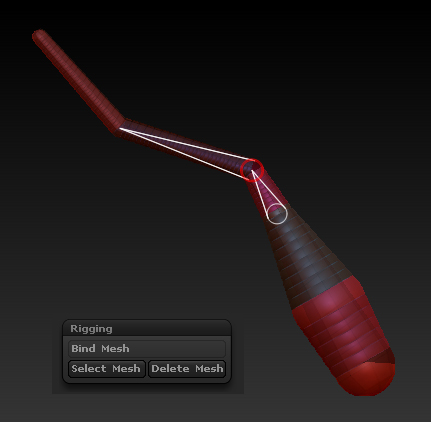
4. Go to the Rigging tab and click on ‘Select Mesh
5. Choose the skin_model that you just have created

6. Click on Bind Mesh to attach the model to the Zspheres.
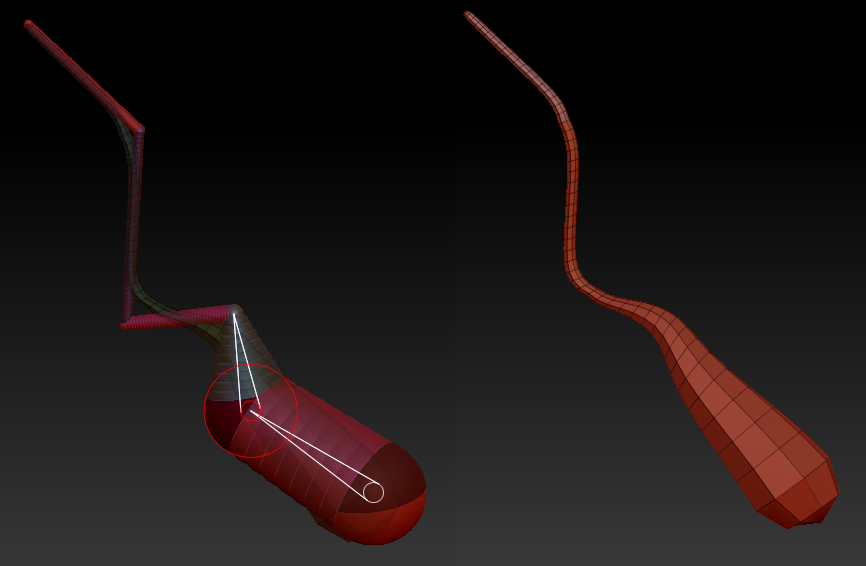
7. Switch to the move, scale or rotate Tools and move the zspheres.
8. Hit A to preview the model

9. click on Make Adaptive Skin or Make Polymesh 3D.
Tips :
- The Zspheres seems to work like the bezier curves.
- You can draw on the zsphere modelto create more control point
- you can use Move / Rotate And Scale !
