Introduction
You have started a project using Blueprint support, but you now you are in the need of adding c++ support, this tutorial will help try to guide you.
We assume that you already have installed visual studio.
Generate the solution File for Visual studio
What you should not do
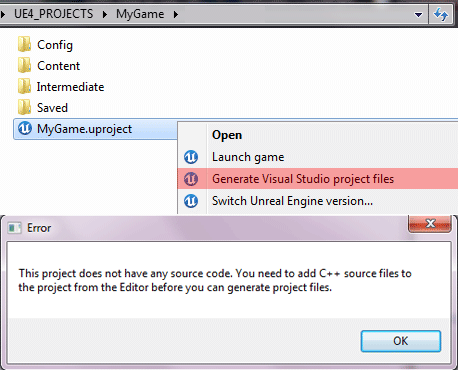
The method that consists to right click over the MyGame.uproject file and then click on Generate Visual Studio project File, isn’t working.
The Proper way to add c++ support
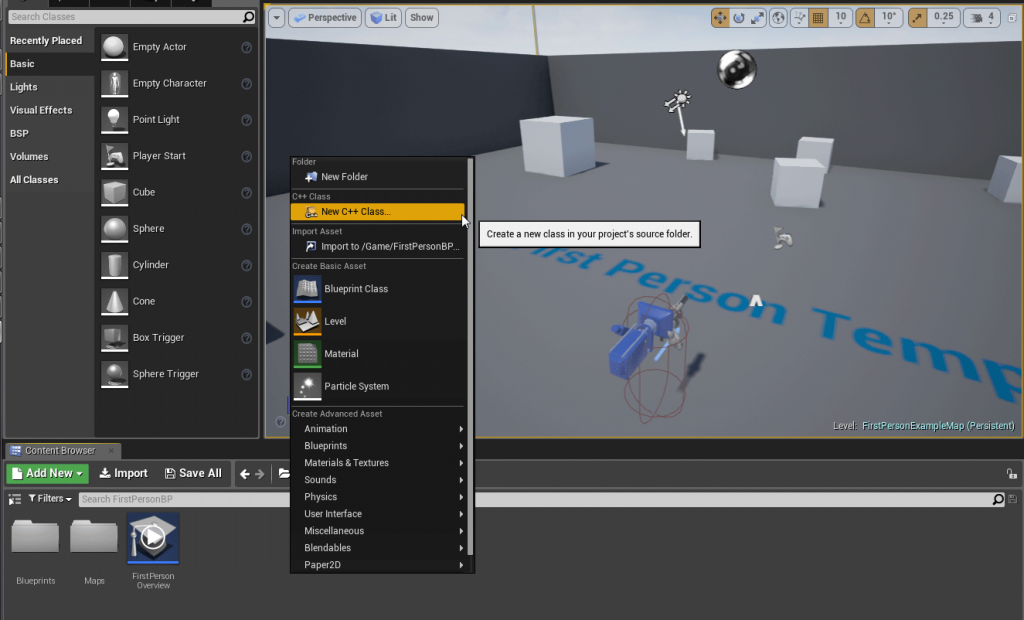
You will have to open your project with the Editor, and then when you are on the content browser , just right click and then add a new C++ class…

Have in mind that adding a new class will added an empty class, because you would need to re-apply the source code you can get from a c++ template. (This will be a subject for a new tutorial.)
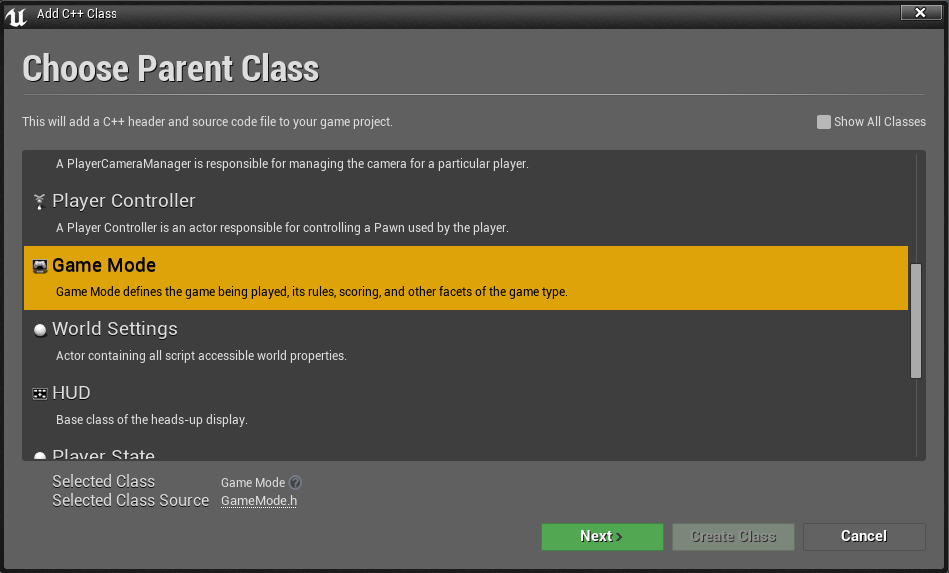
The editor proposes you to create a class , just to make simple, you could add a gamemode class.

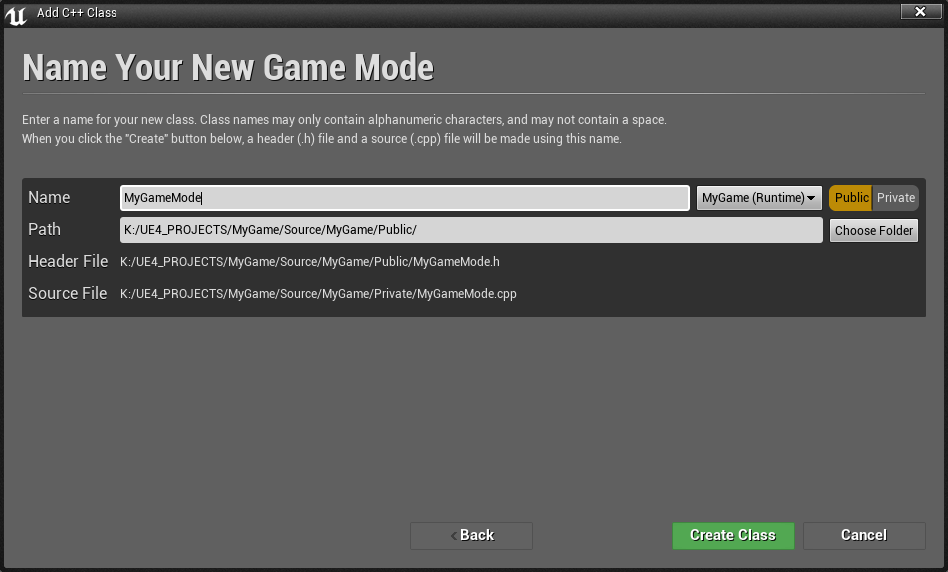
to keep your source code organized you would probably want to use public/private , gamemode functions should be accessible from other actors, so it’s probably better to keep it public.

Click on the Create class button, then it will proceeded for some background tasks to perform.
- a Source directory has been created
- The uproject file as been edited and now load a module at the startup.
- the Empty class for the gamemode Class will be added.
- the module definition *.cs file are created
- unrealbuidtool generate a solution file then it compile the module.
- Visual studio should startup and will open the solution file.
What’s is next ?
The problem is that what has been done already in blueprint, like with your player controller/pawn , gamemode have to be converted to c++.
At the moment your project and your assets continue to use their own blueprint classes, based on the engine Game Framework source code.
Tips : Create the variable you have into your blueprints into the source code, then just clean up your blueprint, re-parent them and get the new variables.

